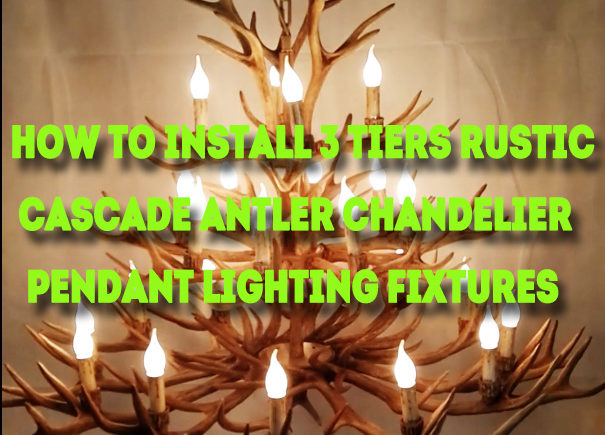
https://buyantlerchandelier.com bring the video tutorial to guide you how to install a 59″ large 24 cast elk deer antler chandelier 12 + 8 + 4 candle-style rustic pendant lighting fixtures for dining room & living room with high ceiling.
Before assembling, check all parts and accessaries are here in correct condition. You will get:
Large size antlers with bulb holders (for the first tier) x 12
Medium size antlers with bulb holders (for the second tier) x 8
Small size antlers with bulb holders (for the third tier) x 4
Long antlers (on top) x 3
Extra small antlers (on the second tier) x 4
LED Bulbs x 24
Big junction box x 1
Medium junction box x 1
Small junction box x 1
Round iron plate x 3
iron bud rod x 3
Apertured nut x 3
straight cast x 3
Chain with connector x 1
Bottom decorative mini antler x1
Light shells x 24
Main wire x 1
Ceiling mount kit x 1
Some nuts and washers
1. Install the first tier of the antler chandelier.
A. Take down nut and washer from the large antler. Thread the wire of the antler through the big junction box. Put on the gasket and nut, screw down.
B. Install the rest 11 antlers in the same way. Adjust every antler’s position, hold it and tighten the screw with a wrench, till it can’t wobble.
C. Fix the stubby screw in the central hole of the big junction box, screw up it with up and down nuts. Then screw the apertured nut on it.
D. Thread the main wire through the connecting hub rod. Thread the other end of the wire through the apertured nut in the central of the junction box. Screw the hub rod into the apertured nut, tighten it.
E. Bundle the same color wires together, connect them with the main wire. Fix them with electrical tape.
F. Thread the main wire through the iron plate. Put it on the big wire box. Thread wire through the straight cast. Put it on the iron plate.
2. Install the second tier of the antler chandelier.
A. There are eight antlers on the second tier. Assemble the second tier antlers same as the first one.
B. Put the second on the first tier after threading the main wire through the medium junction box.
C. Install the apertured nut and bud rod tightly.
D. Bundle all the wires with main wire by color.
E. Install the four extra small antlers on the second small round iron plate. Adjust their angles and screw up.
F. Put the rion plate on the second tier, and then put on the second straight cast to complete the second tier installation.
3. Install the third tier of the antler chandelier.
A. Install the four small antlers on the last junction box as before.
B. Put the third tier on the second one.
B. Install the third nut and bud rod, then bundle the wires, and tighten the joints around with insulating tape.
C. Assemble the rest 3 long antlers on the smallest round iron plate. Adjust the angles and screw down.
D. Put the top part on the third tier.
E. Put the last straight cast on the top tier.
4. Complete the rest installation.
A. Take down the ring from the chain. Thread wire through it. Screw the ring on the bud rod, tighten it up. Connect it with the chain.
B. Put 24pcs light shells on the bulb holders. Screw the 24 LED bulbs into the holders.
C. Install the mini antler when it’s hanging.
After completing the installation process, you need to hang it from the ceiling. It is a chandelier weighing more than 45kg (99lbs). It will take more than an hour to complete the installation.
Tips:
A. Specialized skills is needed to install electrical wiring and ceiling mount.
B. You’d better wear gloves to assemble the chandelier to avoid getting dirty or injured.
C. Please handle it with care after installation. Don’t forget to take down the bottom mini antler if you want to put it on the floor.
D. Considering the large size, the antler may be broken while shipping or installing. But don’t worry, you can glue them together with super glue.
It is a video tutorial for 24 cast three-tired deer antler chandelier pendant lighting rustic fixtures, but it is also applied to most of the other antler chandeliers in our store: https://buyantlerchandelier.com


